
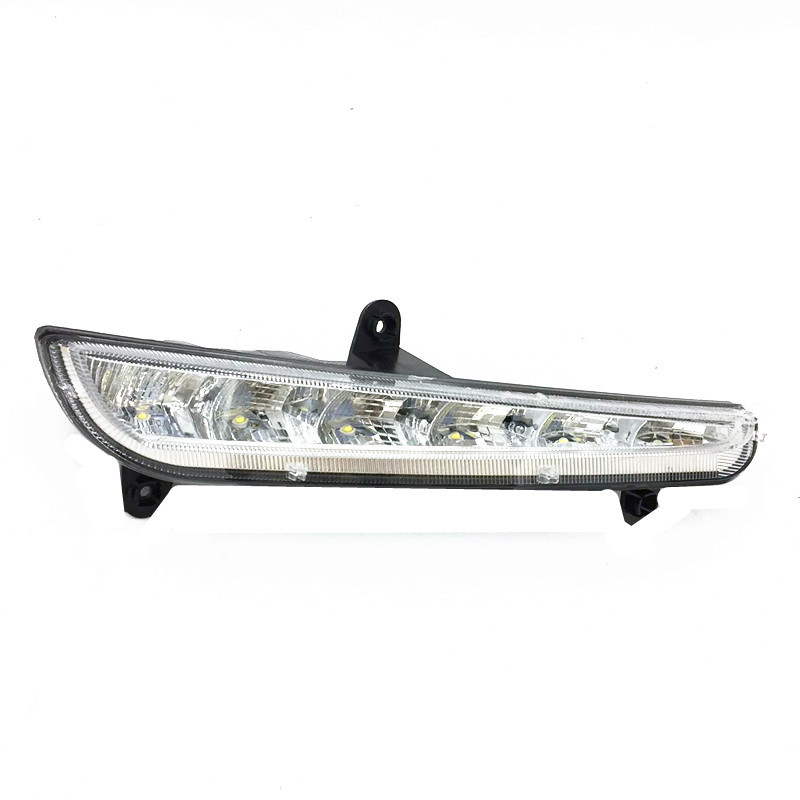
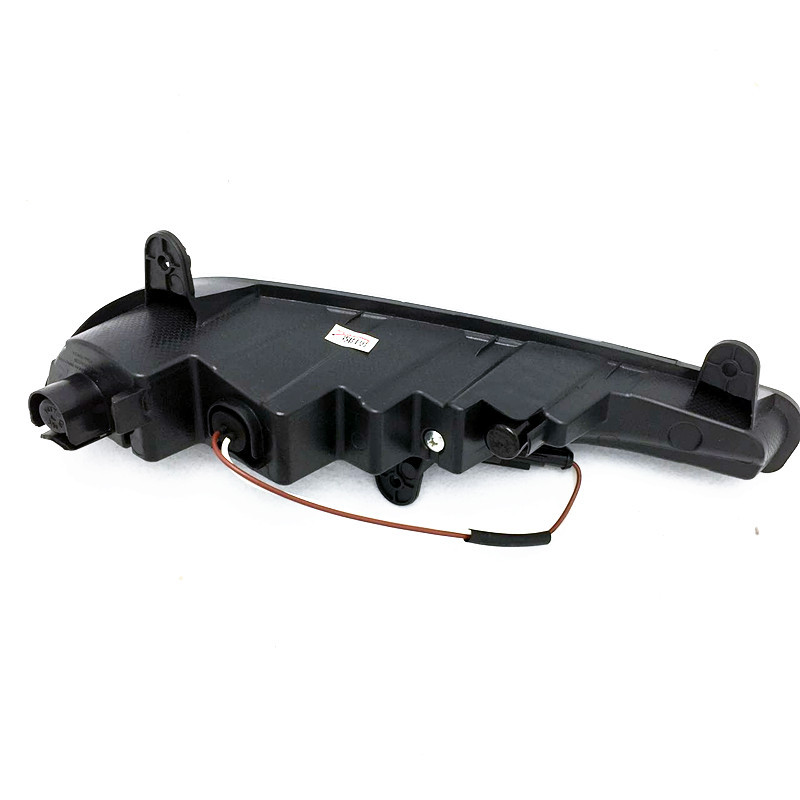

Core Body Structural Component for Engine Bay Protection
Core Function & Product Overview
Structural Reinforcement: It serves as a load-bearing part of the front-end body framework, enhancing the rigidity of the engine bay’s left side and maintaining the positional stability of surrounding components during vehicle operation or minor collisions.
Component Protection: It acts as a barrier to shield the radiator, cooling fan, and left headlight wiring harness from impacts caused by road debris, branches, or accidental bumps during driving, preventing damage to precision parts.
Compartment Isolation: It separates the radiator area from the headlight and fender compartments, optimizing the airflow path in the engine bay to improve the radiator’s heat dissipation efficiency, and reducing the risk of water or dust intrusion into the headlight assembly.
Core Features & Advantages
High-Strength Material & Durable Construction
The assembly is manufactured using high-quality galvanized steel sheet or reinforced PP+GF composite plastic, with material selection tailored to different vehicle design requirements:
Galvanized Steel Version: Adopts 1.2–1.5mm thick cold-rolled galvanized steel, featuring superior structural strength, impact resistance, and corrosion resistance. The surface is treated with electrophoretic coating to prevent rust even in humid engine bay environments, suitable for mainstream fuel vehicles.
Reinforced Plastic Version: Uses PP+GF30 (polypropylene + 30% glass fiber) composite material, which is lightweight, corrosion-resistant, and has good impact toughness. It reduces the vehicle’s overall weight while ensuring structural stability, ideal for new energy or lightweight models.
Precision Fit & Integrated Design
Engineered with 1:1 3D scanning data of the original vehicle’s front-end body, the assembly features pre-punched mounting holes and positioning notches that align perfectly with the radiator bracket, fender, and front bumper beam. Key design highlights include:
Reserved Installation Interfaces: Pre-set mounting points for the radiator upper bracket, headlight adjusting screw, and wiring harness clips, eliminating the need for on-site drilling or modification during installation.
Seamless Edge Matching: The assembly’s edges are designed to match the contour of the fender and radiator side plate, with a gap tolerance controlled within 0.5mm, ensuring the front-end body’s aesthetic consistency and wind resistance performance.
Integrated Reinforcing Ribs: Built-in reinforcing ribs are added to stress-bearing areas to enhance load capacity and prevent deformation under long-term vibration.
Easy Installation & Direct Replacement
The assembly adopts a bolt-on installation design that is fully compatible with the original vehicle’s fixing structure. Installation can be completed by professional maintenance personnel with standard tools in 30–40 minutes:
Installation Steps: First remove the left front bumper trim and fender connecting screws, then detach the old vertical panel assembly from the mounting points, clean the contact surface of the body, align the new assembly with the positioning notches, and tighten the fixing bolts evenly according to the specified torque.
No Calibration Required: After installation, the positional relationship between the radiator and headlight remains consistent with the factory setting, without the need for secondary adjustment of the headlight beam or radiator clearance.
Practical & Reliable Details
Anti-Corrosion Treatment: The steel version is coated with electrophoretic paint and powder coating for double anti-corrosion protection, extending the service life in harsh environments.
Wiring Harness Grooves: Reserved grooves for arranging the headlight and radiator fan wiring harnesses, preventing wire wear caused by friction with the panel.
Lightweight Optimization: The plastic version uses a hollowed-out design in non-stress areas to reduce weight without compromising structural performance.
Installation & Usage Guidelines
- Installation Preparation
Park the vehicle on a flat surface, turn off the engine, and disconnect the negative battery terminal to ensure operation safety.
Prepare tools including a socket wrench set, screwdriver, torque wrench, and a clean cloth for cleaning the body contact surface.
- Installation Steps
Remove the left front bumper side trim and the connecting bolts between the fender and the original vertical panel.
Disconnect the wiring harness clips fixed on the old panel, then remove the fixing bolts of the old assembly and take it out.
Wipe the body mounting surface with a clean cloth to remove rust, dust, and oil stains.
Align the new vertical panel assembly with the positioning notches, install the fixing bolts, and tighten them to the specified torque (refer to the vehicle maintenance manual).
Reinstall the wiring harness clips, bumper trim, and fender connecting bolts, then reconnect the negative battery terminal.
- Usage Notes
Use bolts of the specified grade and torque during installation to avoid loose or over-tightened bolts causing panel deformation or cracking.
For steel versions, check the surface coating regularly; touch up with anti-rust paint immediately if scratches or peeling occur.
Replace the assembly as a whole if it is damaged by collision; do not attempt to repair deformed structural parts to avoid affecting support performance.
Compatibility Statement
Extracted Content
Product Browser Title (English)
Radiator Left Vertical Panel Assembly - OE-Spec Car Body Structural Component for Engine BayProduct Detail Keywords (English)
Radiator Left Vertical Panel, Car Body Structural Component, Engine Bay Protection Part, OE-Spec Replacement PanelProduct Detail Description (English, 58 characters)
High-strength vertical panel assembly—direct replacement, corrosion-resistant, reinforces engine bay structure


Form
PHONE*
*
©2025 Hefei New Exeed Machinery Technology Co., Ltd. All rights reserved