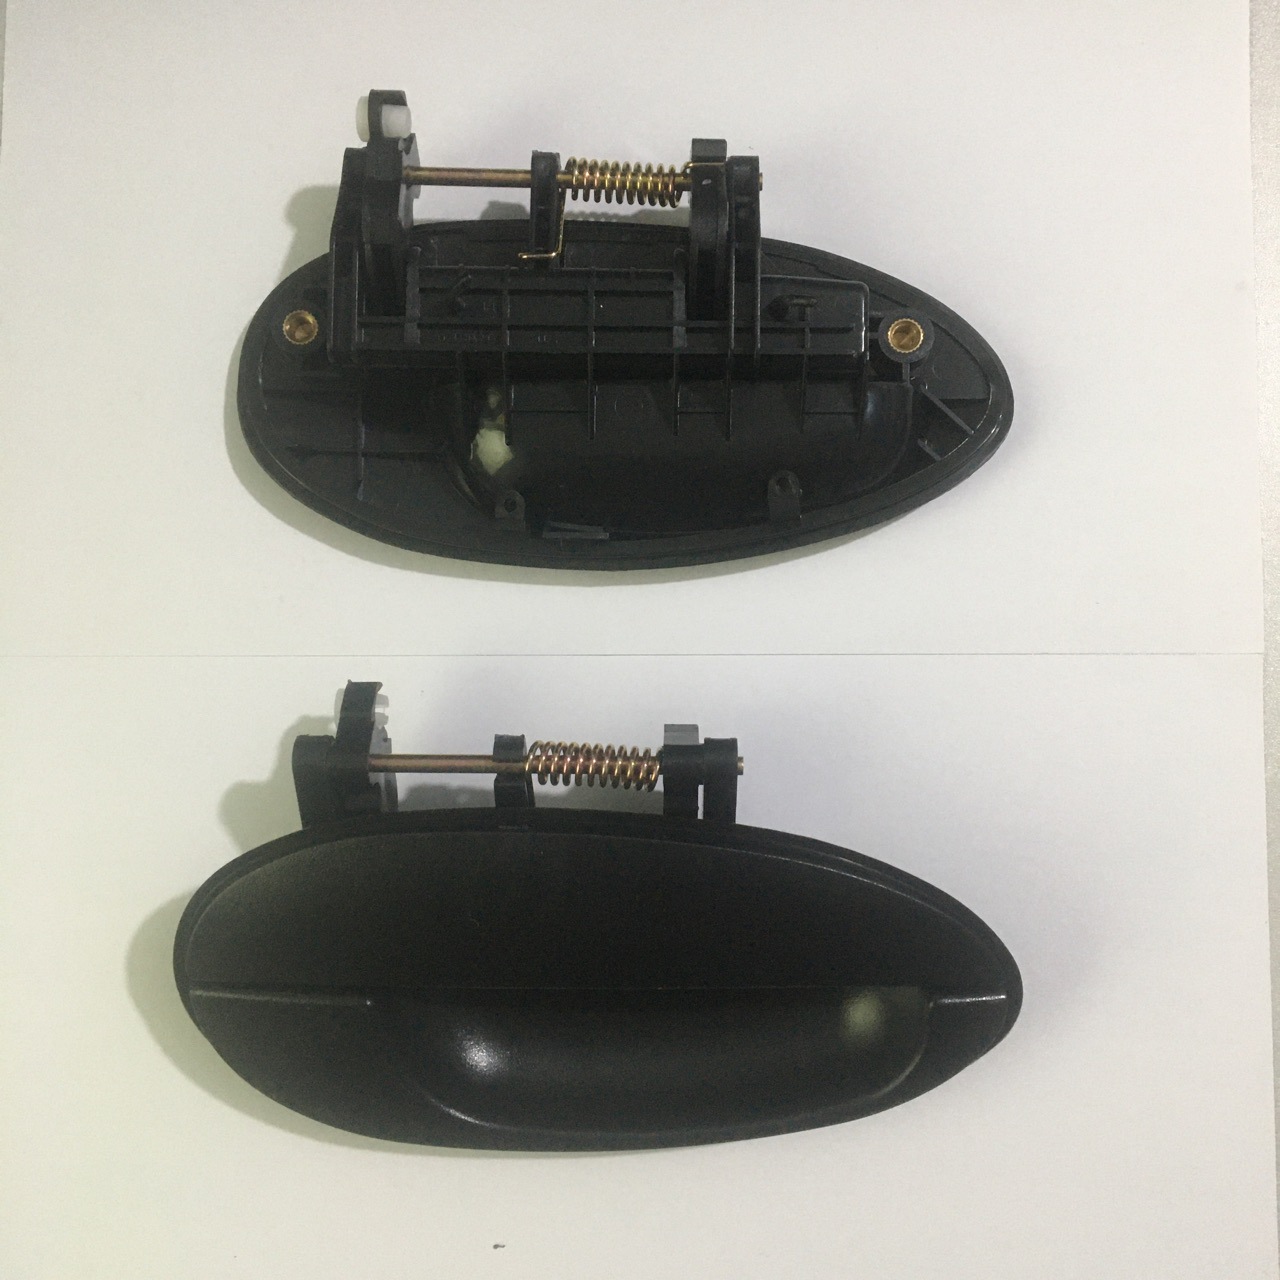
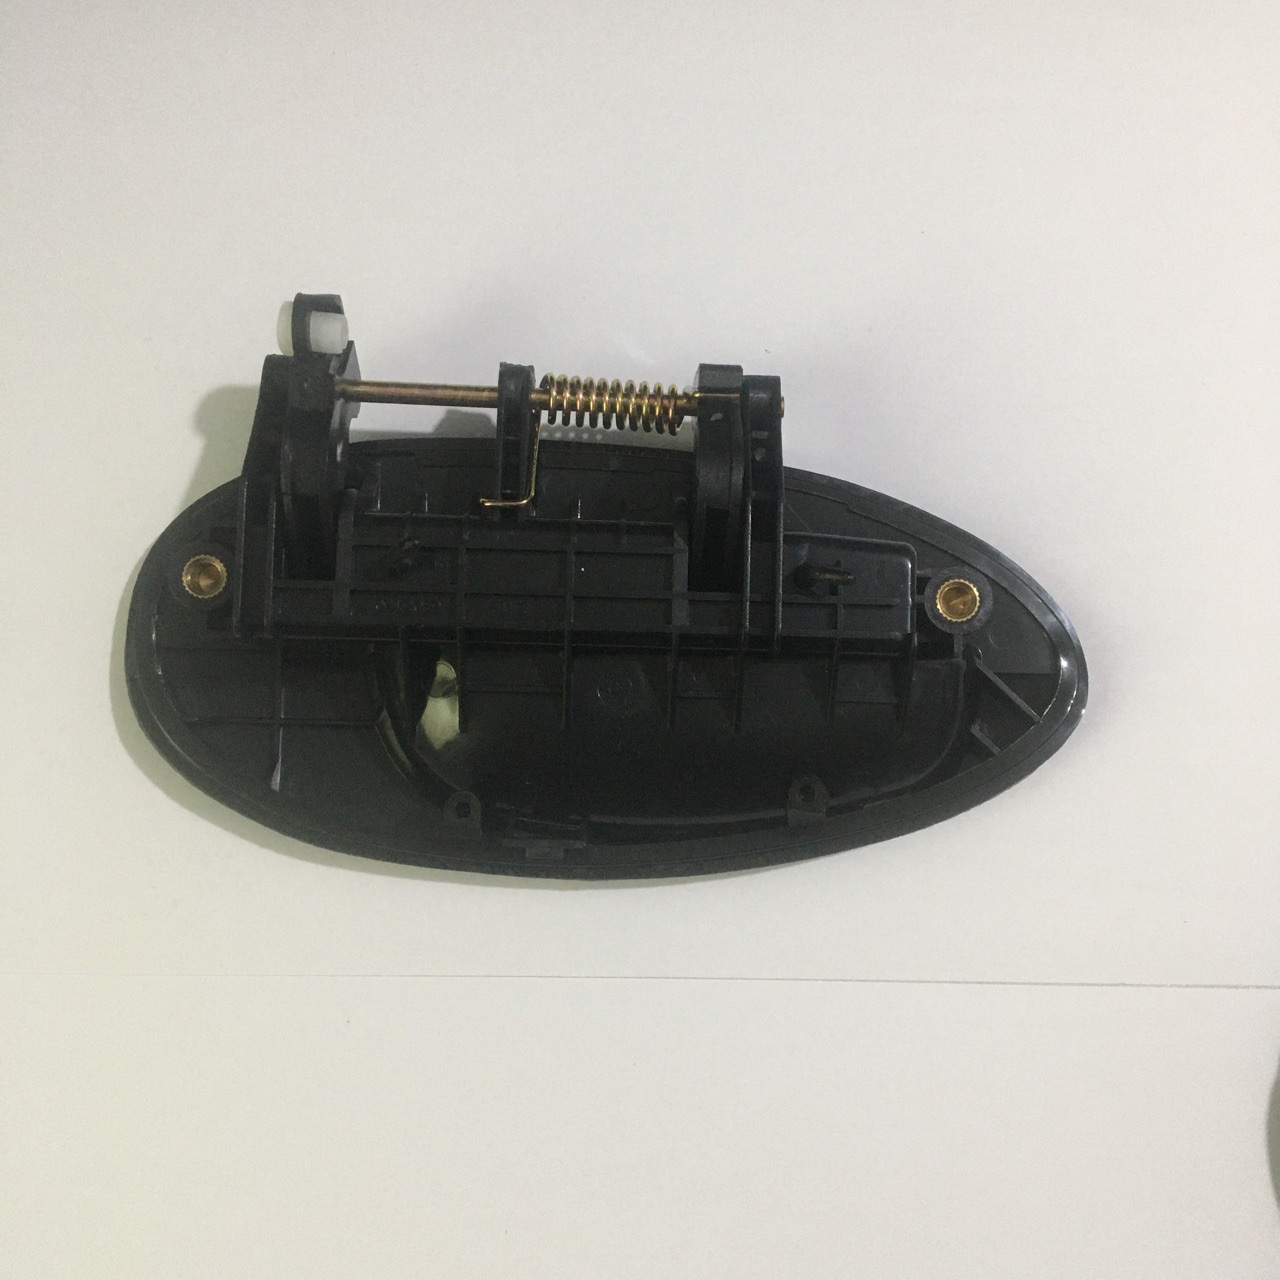
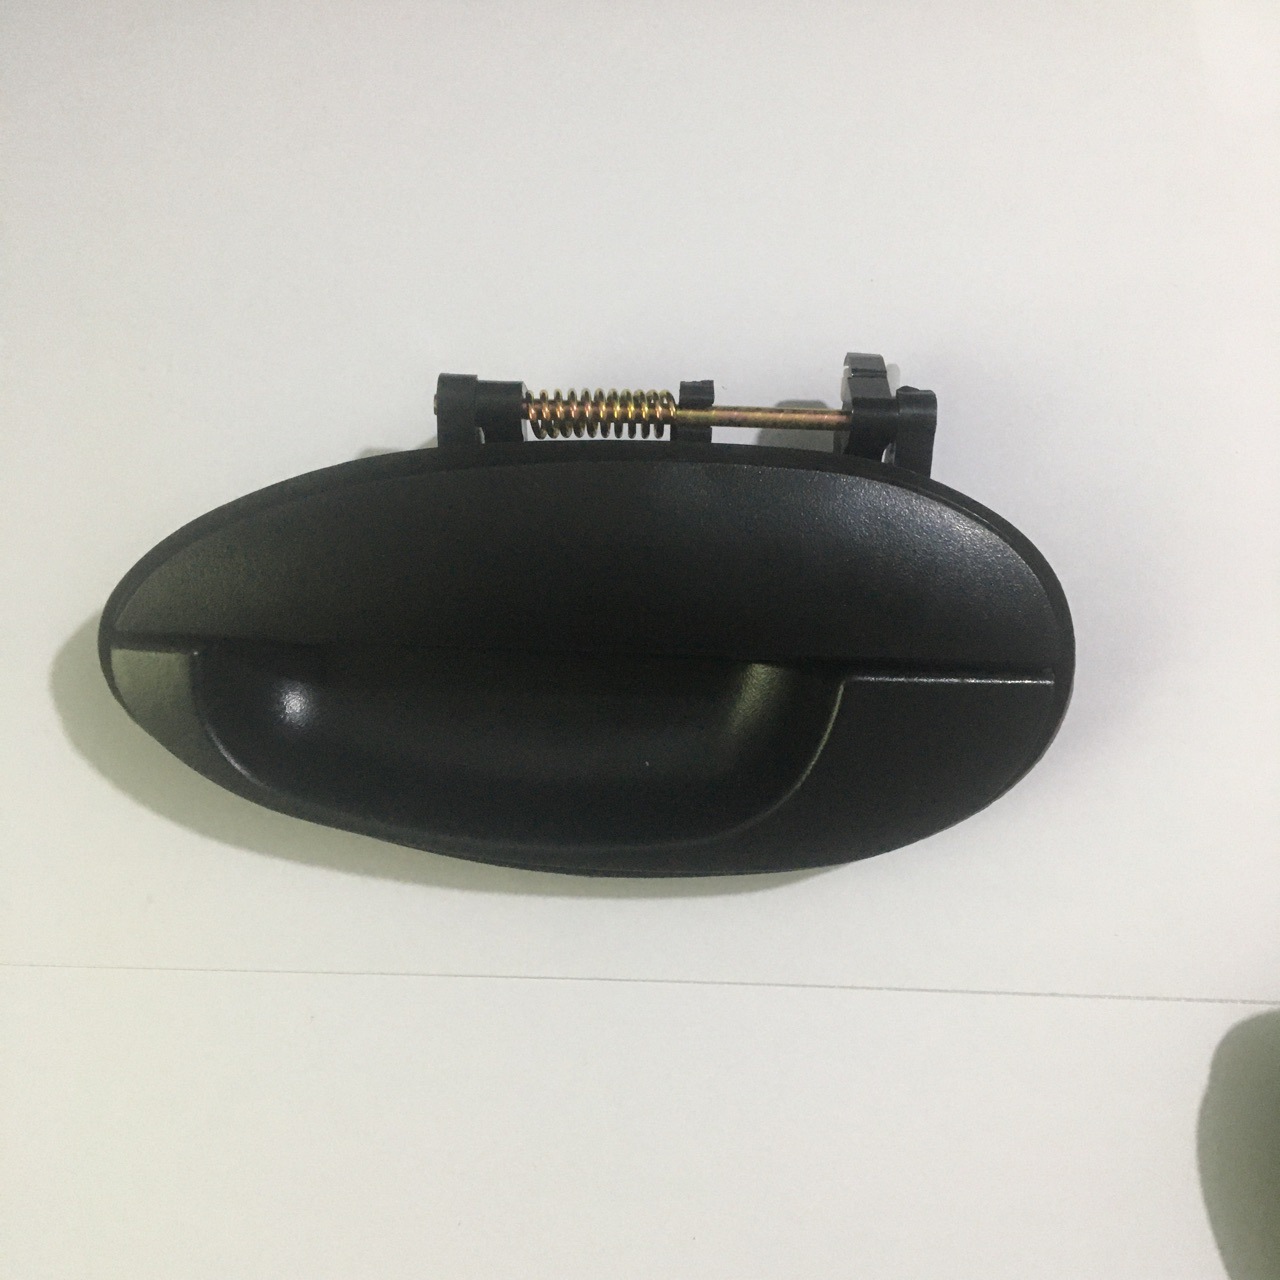
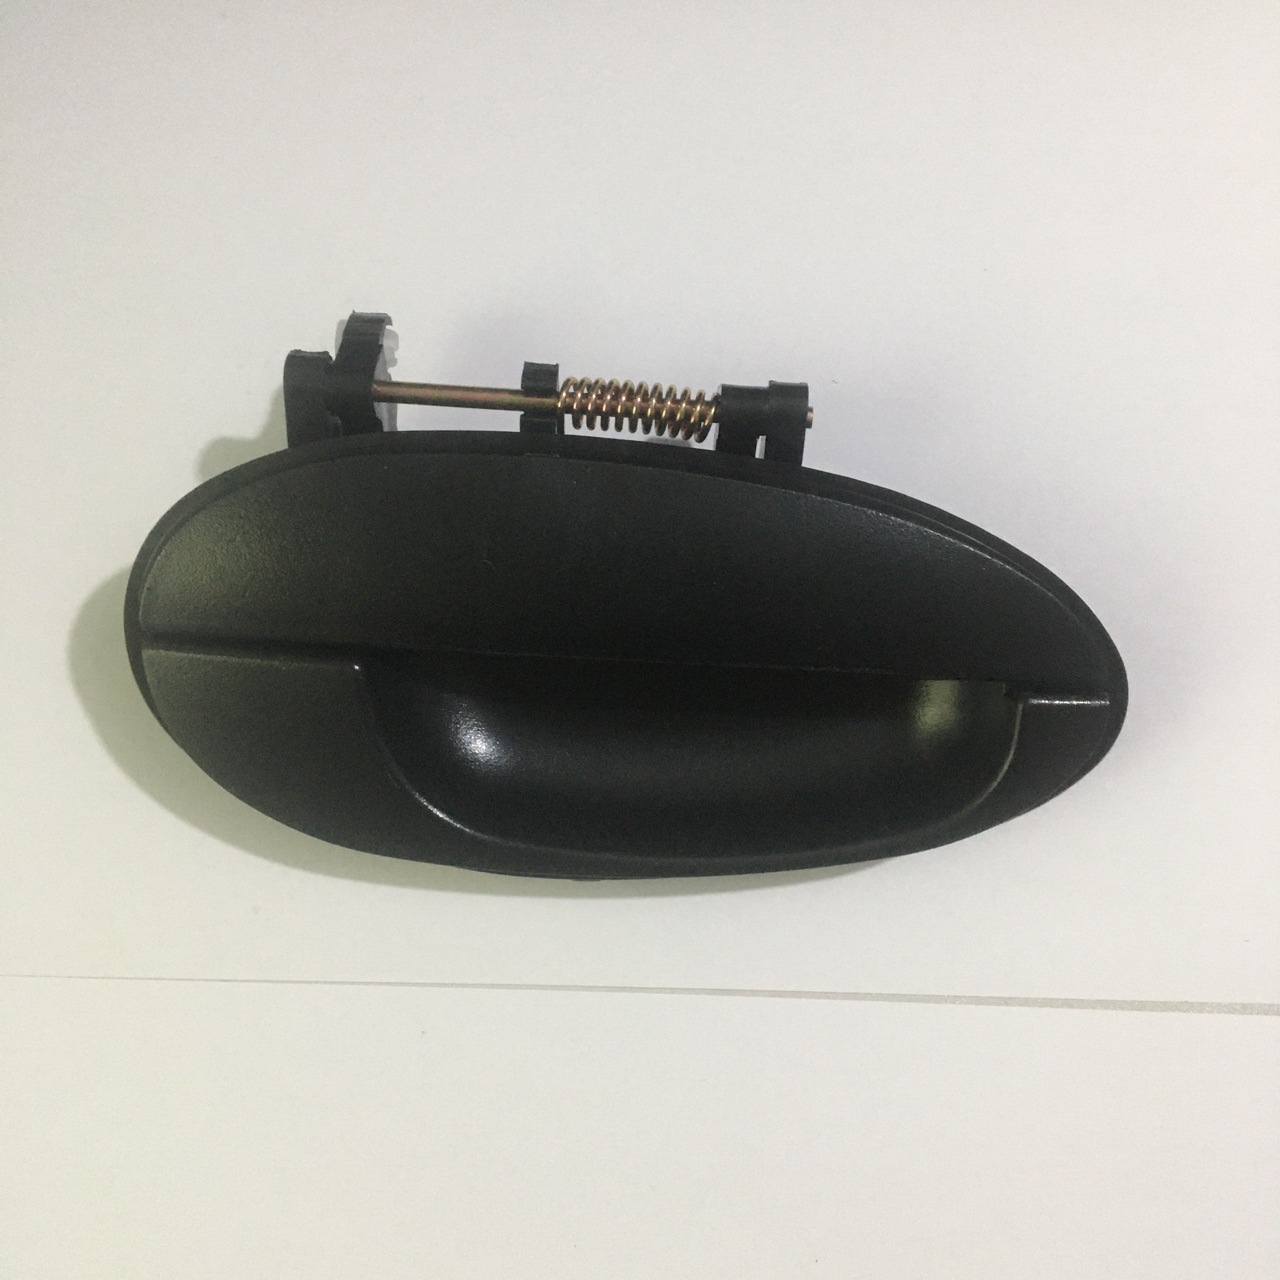

Exterior & Interior Access for Vehicle Entry and Exit Core Component
Core Function & Product Overview
Exterior Door Handle: Serves as the main entry point for passengers, connecting to the door lock mechanism via an internal linkage rod; pulling it triggers the lock to release, enabling door opening. It also integrates with keyless entry systems for some smart models, supporting one-touch unlock.
Interior Door Handle: Facilitates quick door opening from inside the vehicle, equipped with a safety lock button (child lock compatible) to prevent accidental opening during driving, protecting passengers (especially children) from falling risks.
Core Features & Advantages
Premium Material & Durable Construction
Dual material options are available for exterior and interior handles to meet different usage requirements:
Exterior Door Handle: Made of ABS+PC composite plastic or aluminum alloy. The plastic version features UV-resistant coating, preventing fading, cracking, or deformation under long-term sunlight exposure; the aluminum alloy version undergoes anodizing treatment, with excellent scratch resistance and corrosion resistance, presenting a sleek metallic appearance.
Interior Door Handle: Adopts soft-touch TPU wrapping or genuine leather stitching. The soft material provides a comfortable grip, avoiding hand slippage, and the leather version enhances the interior’s premium texture. The internal support structure uses high-strength ABS plastic to ensure sufficient load-bearing capacity and prevent breakage from frequent pulling.
Precision Linkage Design & Smooth Operation
The internal connecting rod is made of galvanized steel, with corrosion-resistant treatment to prevent rust jamming, ensuring the handle pulls smoothly without stuck or loose feelings.
The handle’s swing angle is calibrated precisely, matching the door lock’s release stroke to achieve a "light pull to open" effect, reducing operational effort, especially suitable for the elderly and children.
For exterior handles of smart models, the built-in proximity sensor has high sensitivity, supporting instant unlock response when the hand touches the handle (with a valid key nearby), with no delay or false trigger.
Easy Installation & Direct Replacement
Exterior Handle Installation: Remove the door interior trim panel, disconnect the old handle’s linkage rod and wiring harness (for smart models), unscrew the fixing bolts, take out the old handle, align the new handle with the mounting holes, reconnect the linkage rod and wiring harness, and tighten the bolts. The process takes about 20–30 minutes for professional technicians.
Interior Handle Installation: Pry off the decorative cover of the original interior handle, remove the fixing screws, detach the old handle, snap the new handle into the mounting slot, and tighten the screws. No professional tools are needed for basic replacement, and it can be completed in 10 minutes.
The replacement handle is fully compatible with the original door lock system, requiring no adjustment to the lock cylinder or linkage mechanism.
Practical & User-Friendly Details
Weatherproof Design: Exterior handles are equipped with a rubber sealing ring at the installation gap, preventing rainwater, dust, or sand from entering the door interior and causing corrosion of the linkage rod or lock mechanism.
Anti-Theft Design: The exterior handle’s mounting bolts are hidden inside the door panel, avoiding tampering by thieves and improving vehicle anti-theft performance.
Multiple Color Options: Exterior handles are available in black, silver, body-color matching, etc.; interior handles come in black, beige, brown, etc., to match different vehicle exterior and interior styles.
Installation & Usage Guidelines
- Installation Preparation
For exterior handle replacement: Prepare a screwdriver set, trim removal tool, and a clean cloth; disconnect the negative battery terminal to avoid short circuits when handling wiring harnesses.
For interior handle replacement: Prepare a small flathead screwdriver to pry off the decorative cover, and a Phillips screwdriver to remove the fixing screws.
- Installation Steps
Exterior Handle: Use the trim removal tool to gently pry off the door interior trim panel; locate the exterior handle’s fixing bolts and linkage rod; disconnect the linkage rod and wiring harness (if applicable); remove the bolts and take out the old handle; install the new handle, reconnect the linkage rod and wiring harness, tighten the bolts, and reinstall the interior trim panel.
Interior Handle: Pry off the decorative cover on the interior handle; remove the fixing screws; pull out the old handle and disconnect the linkage rod; connect the new handle to the linkage rod, snap it into the mounting slot, tighten the screws, and reinstall the decorative cover.
- Usage Notes
Do not use excessive force when pulling the door handle to avoid bending or breaking the internal linkage rod.
Regularly clean the exterior handle with a damp cloth to remove dust and oil stains; avoid using abrasive cleaners that may damage the surface coating.
Check the tightness of the interior handle’s fixing screws regularly; re-tighten them if loose to prevent the handle from falling off during use.
For smart exterior handles, if the keyless entry function fails, check the wiring harness connection or replace the built-in battery in time.
Compatibility Statement


Form
PHONE*
*
©2025 Hefei New Exeed Machinery Technology Co., Ltd. All rights reserved