
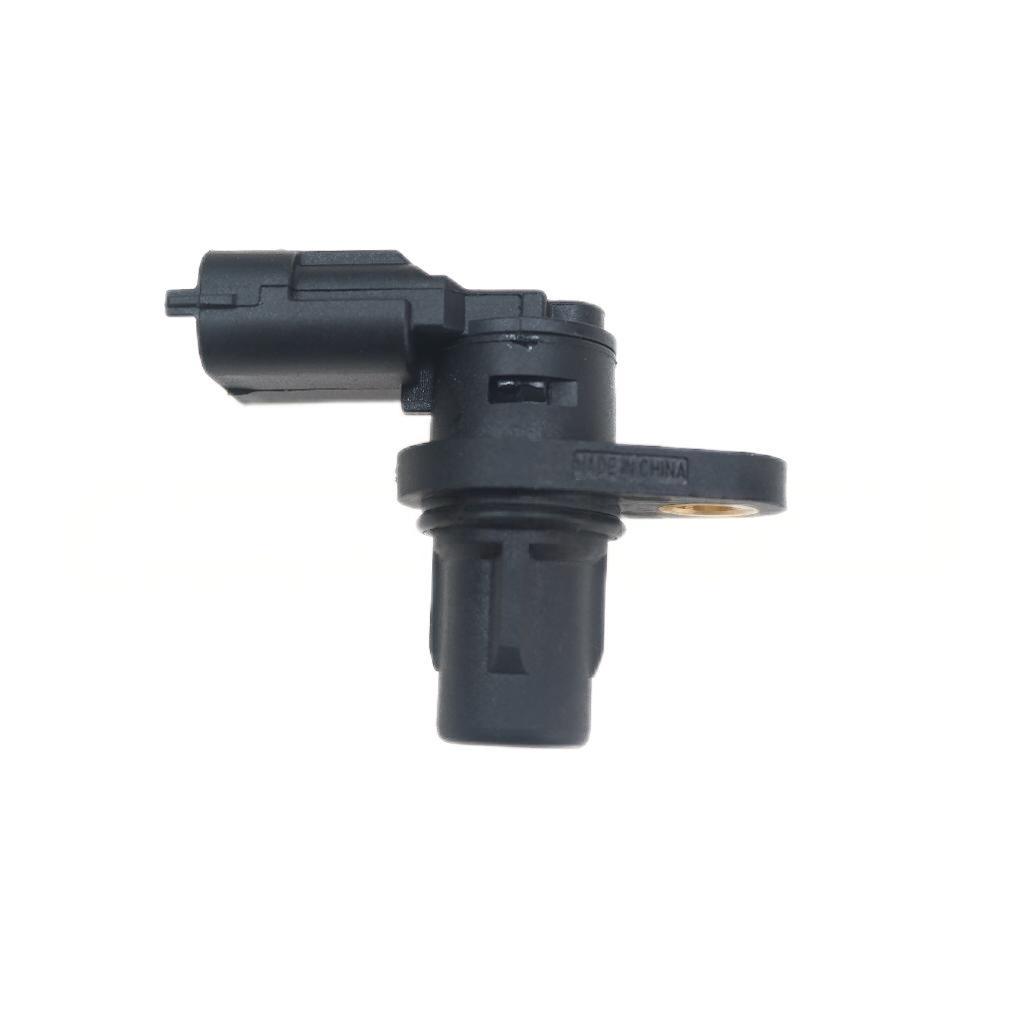
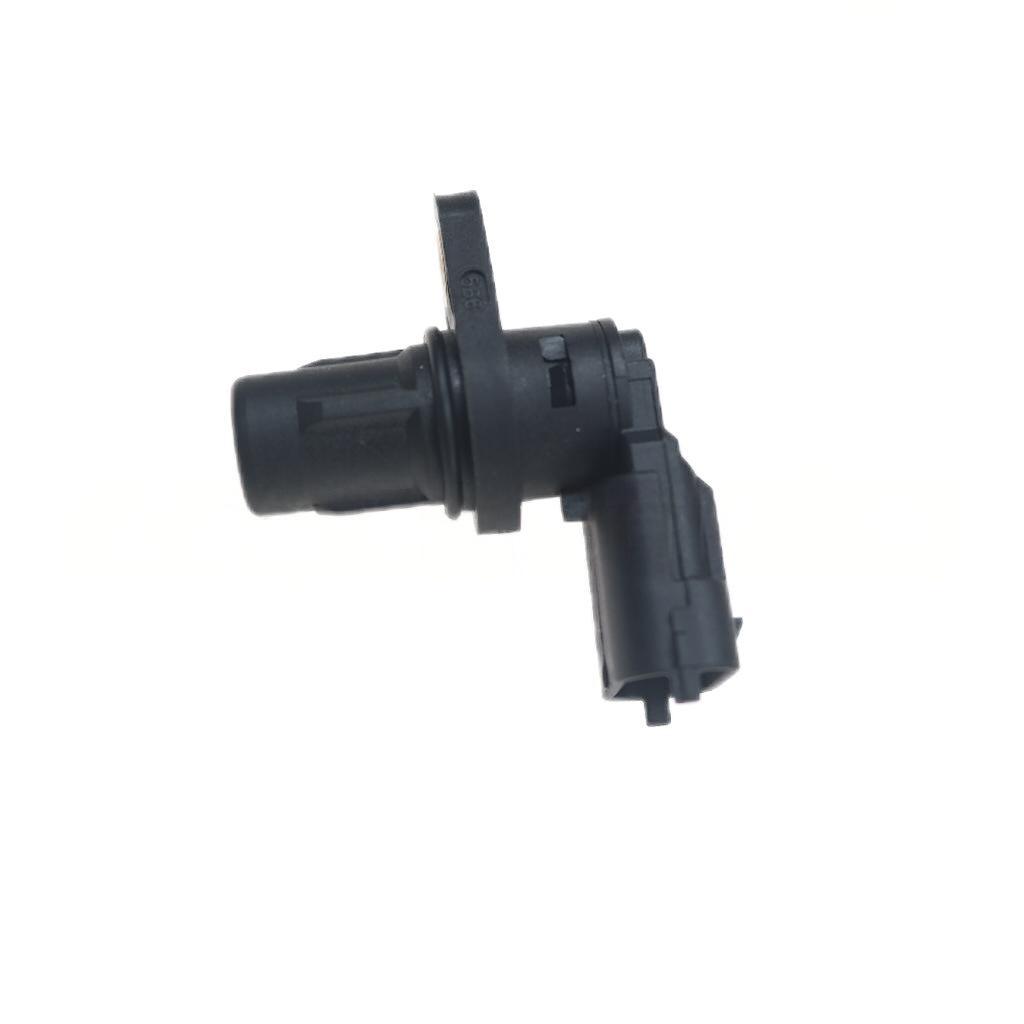
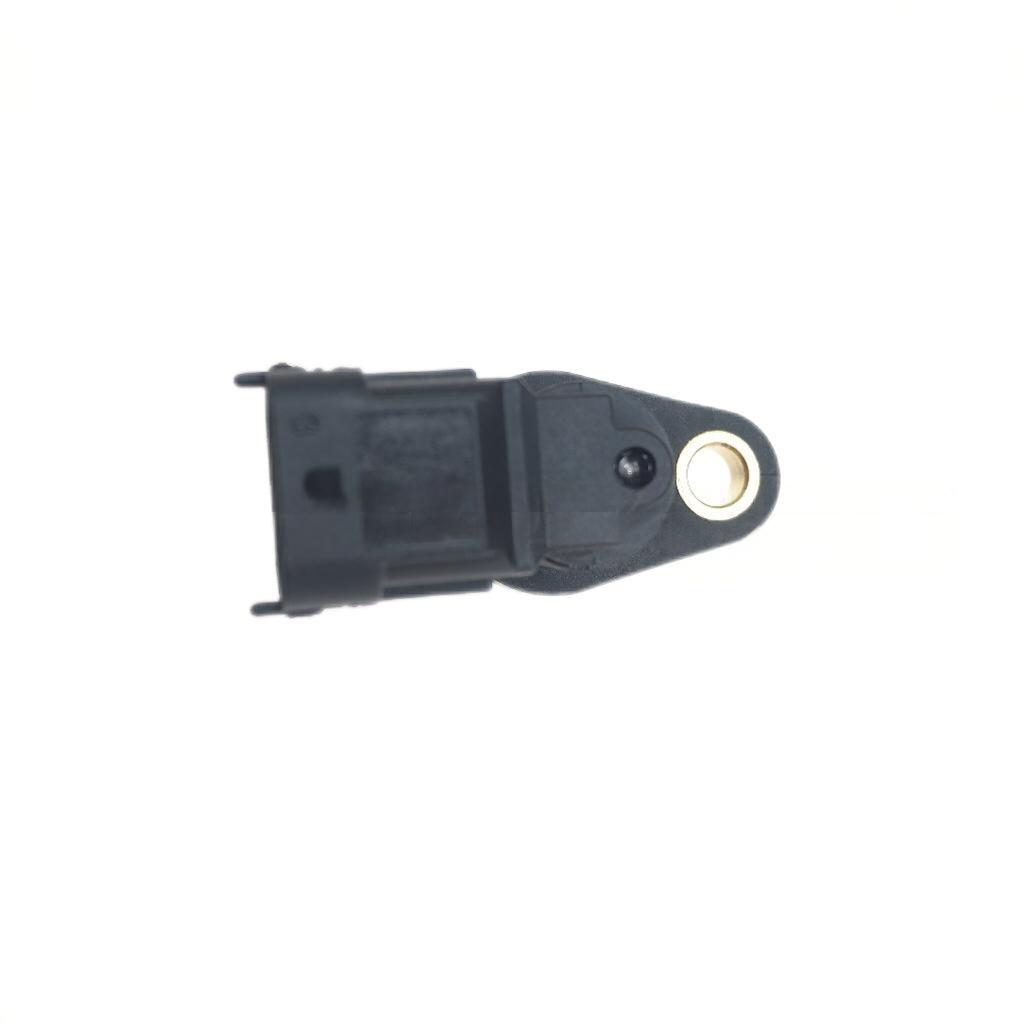

Core Engine Management Component for Ignition & Fuel Injection Control
Core Function & Product Overview
Ignition Timing Control: Determines the optimal time for spark plug ignition in gasoline engines, ensuring combustion efficiency and avoiding detonation or misfire.
Fuel Injection Timing Control: Coordinates the fuel injector opening time in both gasoline and diesel engines, matching fuel supply with intake air volume to optimize power output and fuel economy.
Core Features & Advantages
High-Precision Detection & Stable Signal Output
Adopts Hall-effect sensing technology (the most widely used type for modern engines) with the following performance advantages:
Accurate Signal Acquisition: The built-in Hall element detects the magnetic field change generated by the camshaft’s signal wheel, with position detection accuracy within ±0.5 degrees of crankshaft angle, ensuring precise synchronization of ignition and injection timing.
Strong Anti-Interference Ability: Equipped with a metal shielding shell to resist electromagnetic interference from the engine’s high-voltage ignition system and wiring harness, avoiding signal distortion caused by voltage fluctuations or electromagnetic radiation.
Wide Working Temperature Range: Operates stably in the engine bay’s harsh environment (-40°C to 125°C), with no signal failure or drift even under long-term high-temperature conditions.
Durable Construction & Reliable Sealing
Shell Material: Made of high-strength PBT engineering plastic with glass fiber reinforcement, featuring excellent heat resistance, corrosion resistance, and impact resistance, able to withstand engine vibration and thermal expansion/contraction without deformation.
Sealing Design: Adopts IP67 waterproof and dustproof sealing structure, with a nitrile rubber O-ring at the wiring harness interface to prevent water, oil, and dust from entering the sensor interior, avoiding short circuits or component burnout.
Wiring Harness Protection: The external wiring harness is wrapped with heat-resistant Teflon insulation layer, and the connection point with the sensor body is reinforced with high-temperature adhesive, preventing wire breakage or insulation aging caused by engine vibration.
OE-Spec Compatibility & Plug-and-Play Installation
1:1 Original Design: Manufactured according to the original sensor’s dimensions, mounting hole position, and connector pin definition, ensuring perfect fit with the engine cylinder head or valve cover mounting bracket.
Direct Replacement: No need for ECU programming or wiring modification. Simply disconnect the original sensor’s wiring harness, remove the fixing bolt, take out the old sensor, and install the new one in reverse order. The entire replacement process can be completed in 10–15 minutes by professional maintenance personnel.
Error-Free Operation: Matches the original ECU signal parameters, avoiding false fault codes (such as P0340, P0341) that may cause the engine to enter limp-home mode.
Extended Service Life & Rigorous Testing
Precision Calibration: Each sensor undergoes factory calibration and signal testing to ensure output accuracy meets OE standards, eliminating the need for on-vehicle adjustment.
Fatigue Resistance: Passes 10,000 hours of continuous operation testing and 500,000 times of vibration fatigue testing, with a service life of up to 150,000 kilometers under normal use conditions.
Environmental Adaptability: Resistant to engine oil, coolant, and gasoline corrosion, maintaining stable performance even in the case of minor oil leakage in the engine bay.
Installation & Usage Guidelines
- Installation Preparation
Turn off the engine and disconnect the negative battery terminal to prevent short circuits during operation.
Prepare tools including a socket wrench, torque wrench, and a clean cloth to wipe the sensor mounting surface.
Check the new sensor’s connector and sealing ring for damage; replace the O-ring if it is hardened or cracked.
- Installation Steps
Locate the sensor mounting position (usually on the engine cylinder head at the front or rear of the camshaft).
Disconnect the wiring harness connector from the old sensor by pressing the locking tab.
Remove the sensor fixing bolt with a socket wrench, then pull the old sensor out of the mounting hole.
Wipe the mounting hole and contact surface with a clean cloth to remove oil and debris.
Apply a thin layer of engine oil to the new sensor’s sealing ring (to facilitate installation and improve sealing), insert it into the mounting hole until it is fully seated.
Install and tighten the fixing bolt to the specified torque (usually 8–10 N·m, refer to the vehicle maintenance manual).
Reconnect the wiring harness connector and ensure it locks in place, then reconnect the negative battery terminal.
- Usage Notes
Do not touch the sensor’s sensing surface with bare hands to avoid oil stains affecting signal detection.
Do not over-tighten the fixing bolt, as this may damage the sensor shell or affect the internal sensing element.
If the engine shows symptoms such as rough idle, difficulty starting, or reduced power after replacement, check the wiring harness connection or use a diagnostic tool to read fault codes.
Replace the sensor immediately if it is damaged by collision or oil leakage to avoid engine performance degradation or damage.
Compatibility Statement


Form
PHONE*
*
©2025 Hefei New Exeed Machinery Technology Co., Ltd. All rights reserved